Docker Lab 1 - Overview and Setup
Maintained by: mikerb@mit.edu  Get PDF
1 Overview and Objectives
2 Get Docker on Your Local Computer
3 Images and Containers
4 Obtaining and Launching a First Image and Container
4.1 Containers and Images on Your Local Computer
4.2 Where are Containers and Images on Your Local Hard Drive
4.3 Removing Containers and Images
1 Overview and Objectives

- Goal - Get Docker installed on your local computer
- Goal - Review the notions of Images and Containers
- Goal - Obtain your first Docker images
- Goal - Start your first Docker containers
- Goal - Become comfortable knowing the state of local images and containers


2 Get Docker on Your Local Computer
The first step is to dowload and install Docker on your local computer. For now our steps will be from the perspective of a MacOS user. The software is obtained directly from the docker.com website, not the Mac App Store. You can do a web search on "mac os docker", or use the URL that I came to with my search:

https://hub.docker.com/editions/community/docker-ce-desktop-mac

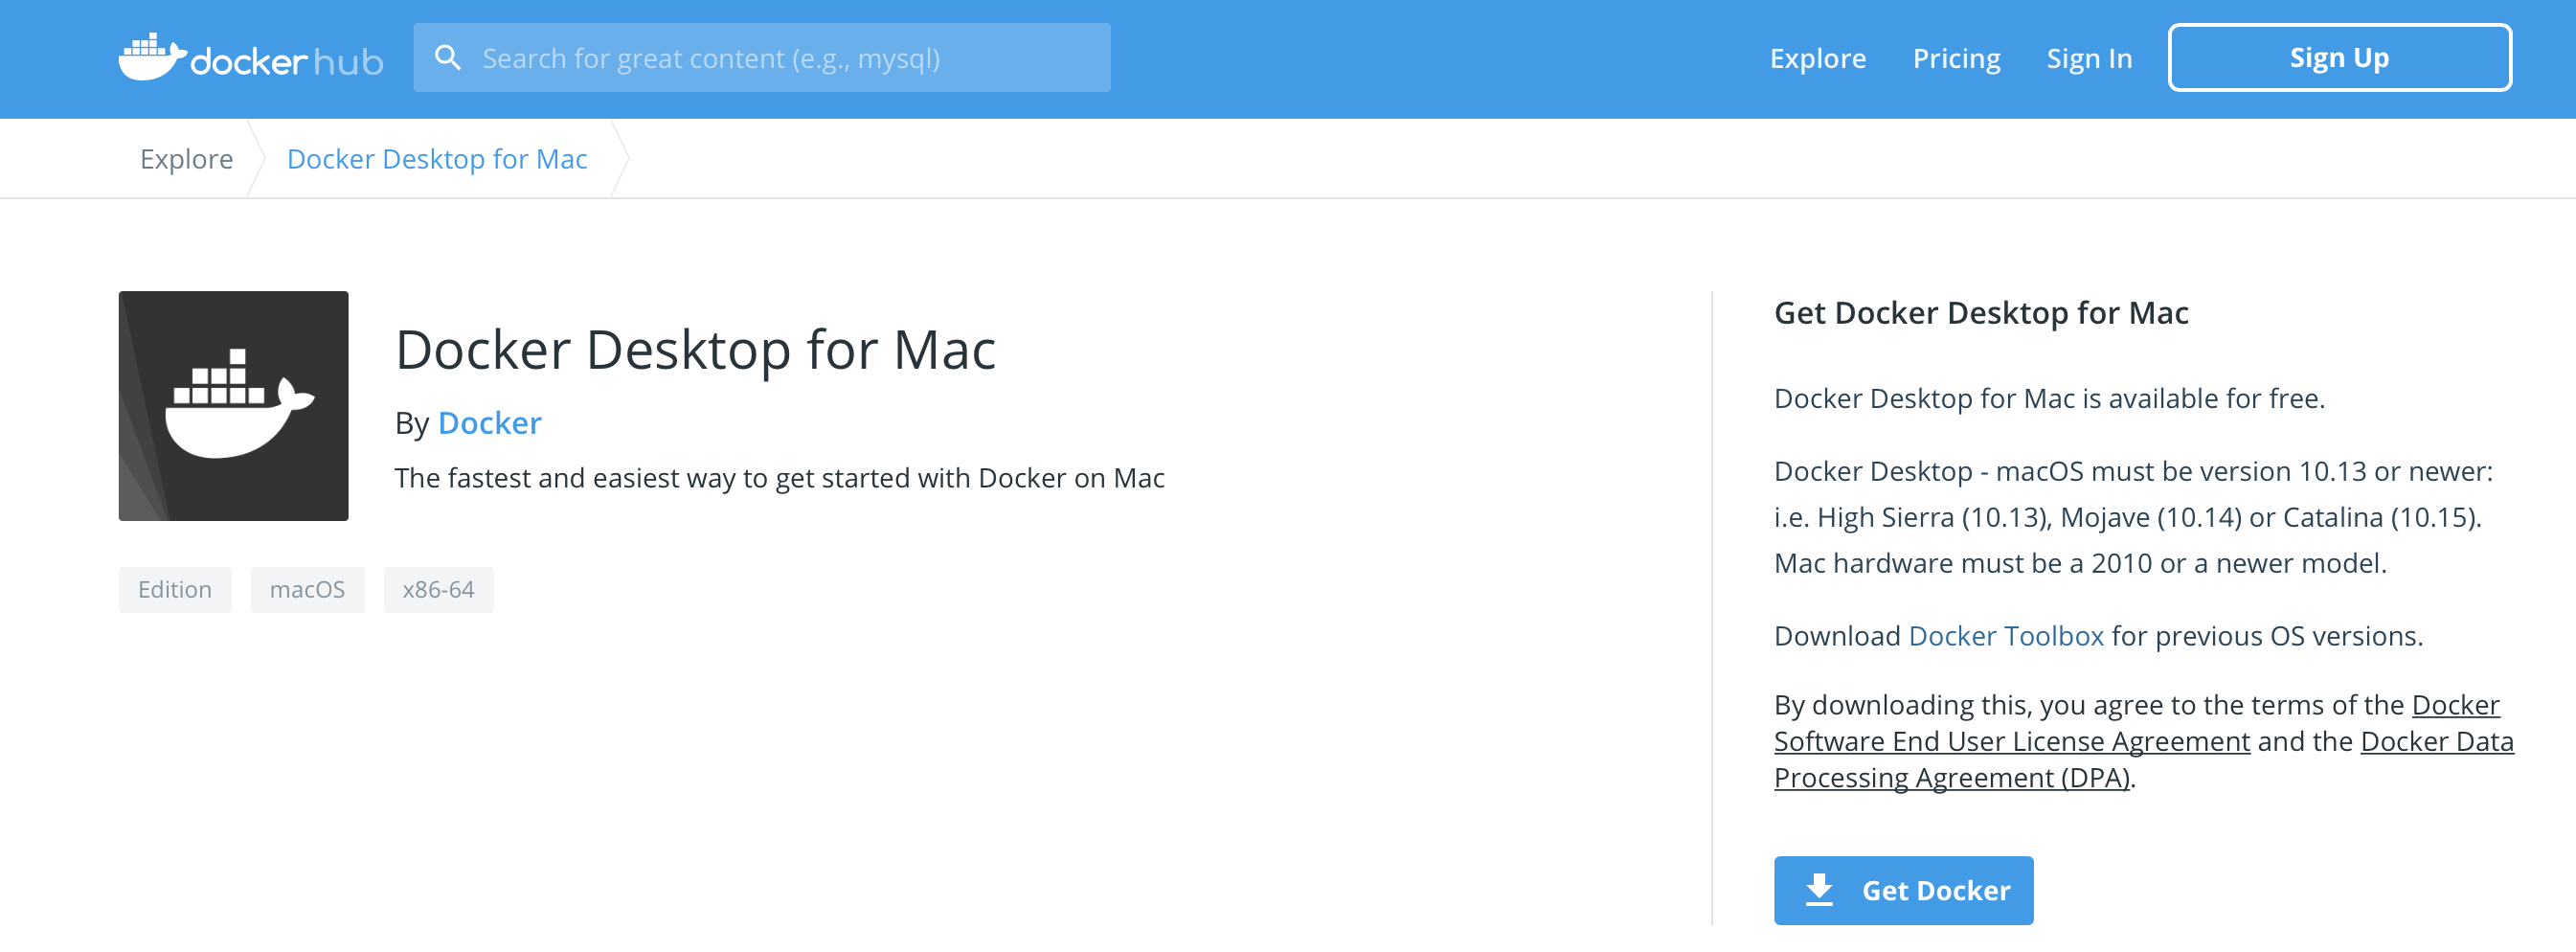
This should bring you to a page that looks something like the one below. Just click on the Get Docker button and the download should begin immediately to your Downloads folder.


Figure 2.1: Getting Docker: The first page for getting Docker on the Mac should looking something like this (as it looks May 2020).


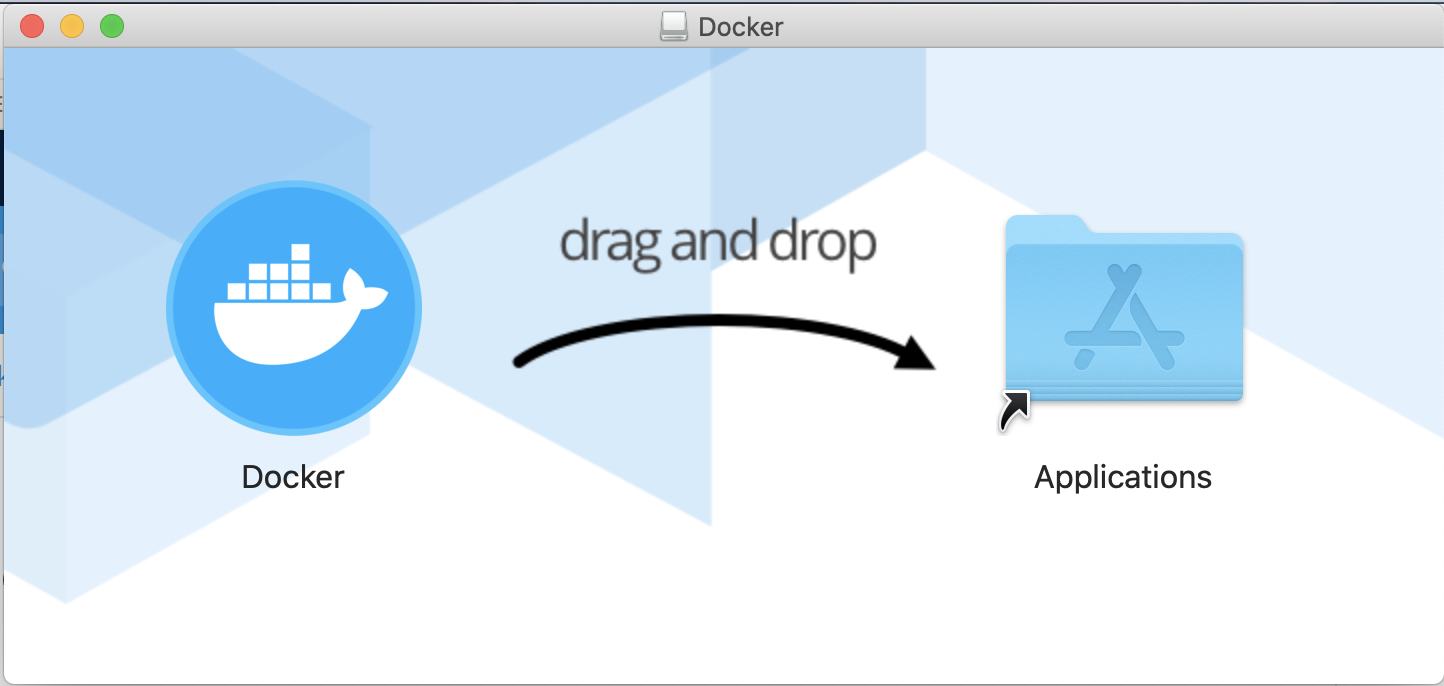
The downloaded file should be called Docker.dmg in your ~/Downloads folder. Just click on it or type "open Docker.dmg" on the command line from within the folder. After a few seconds it will prompt you to install Docker. Move the created Docker application into the sytem Applications folder, by dragging and dropping the Docker icon in a window like:


Figure 2.2: Installing Docker: The installation of Docker is done in the familiar pattern of dragging and dropping the Docker icon into the Applications folder.


Since this move is a change to the system Applications folder typically, it requires system Admin privileges and you should see the below dialog window informing you that you need to enter your password. Click OK, and then enter your password.


Figure 2.3: Install permission: You will be informed that you need to enter your password to approve the addition of the Docker application to the folder of system Applications.


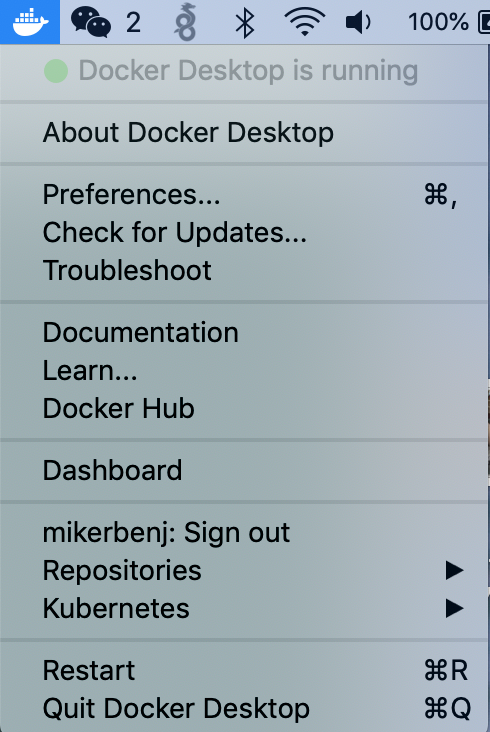
Once this is done, Docker is installed. The executable is located at /Applications/Docker.app/. It can be launched by opening that folder and double-clicking it. In addition to the starting splash which looks something like Figure 2.5, a small Docker icon will appear in the top of your menu bar. It is the leftmost icon in the example below:


Figure 2.4: Docker Menu Icon: When Docker is running, the icon can be seen in the top of Mac menu bar.


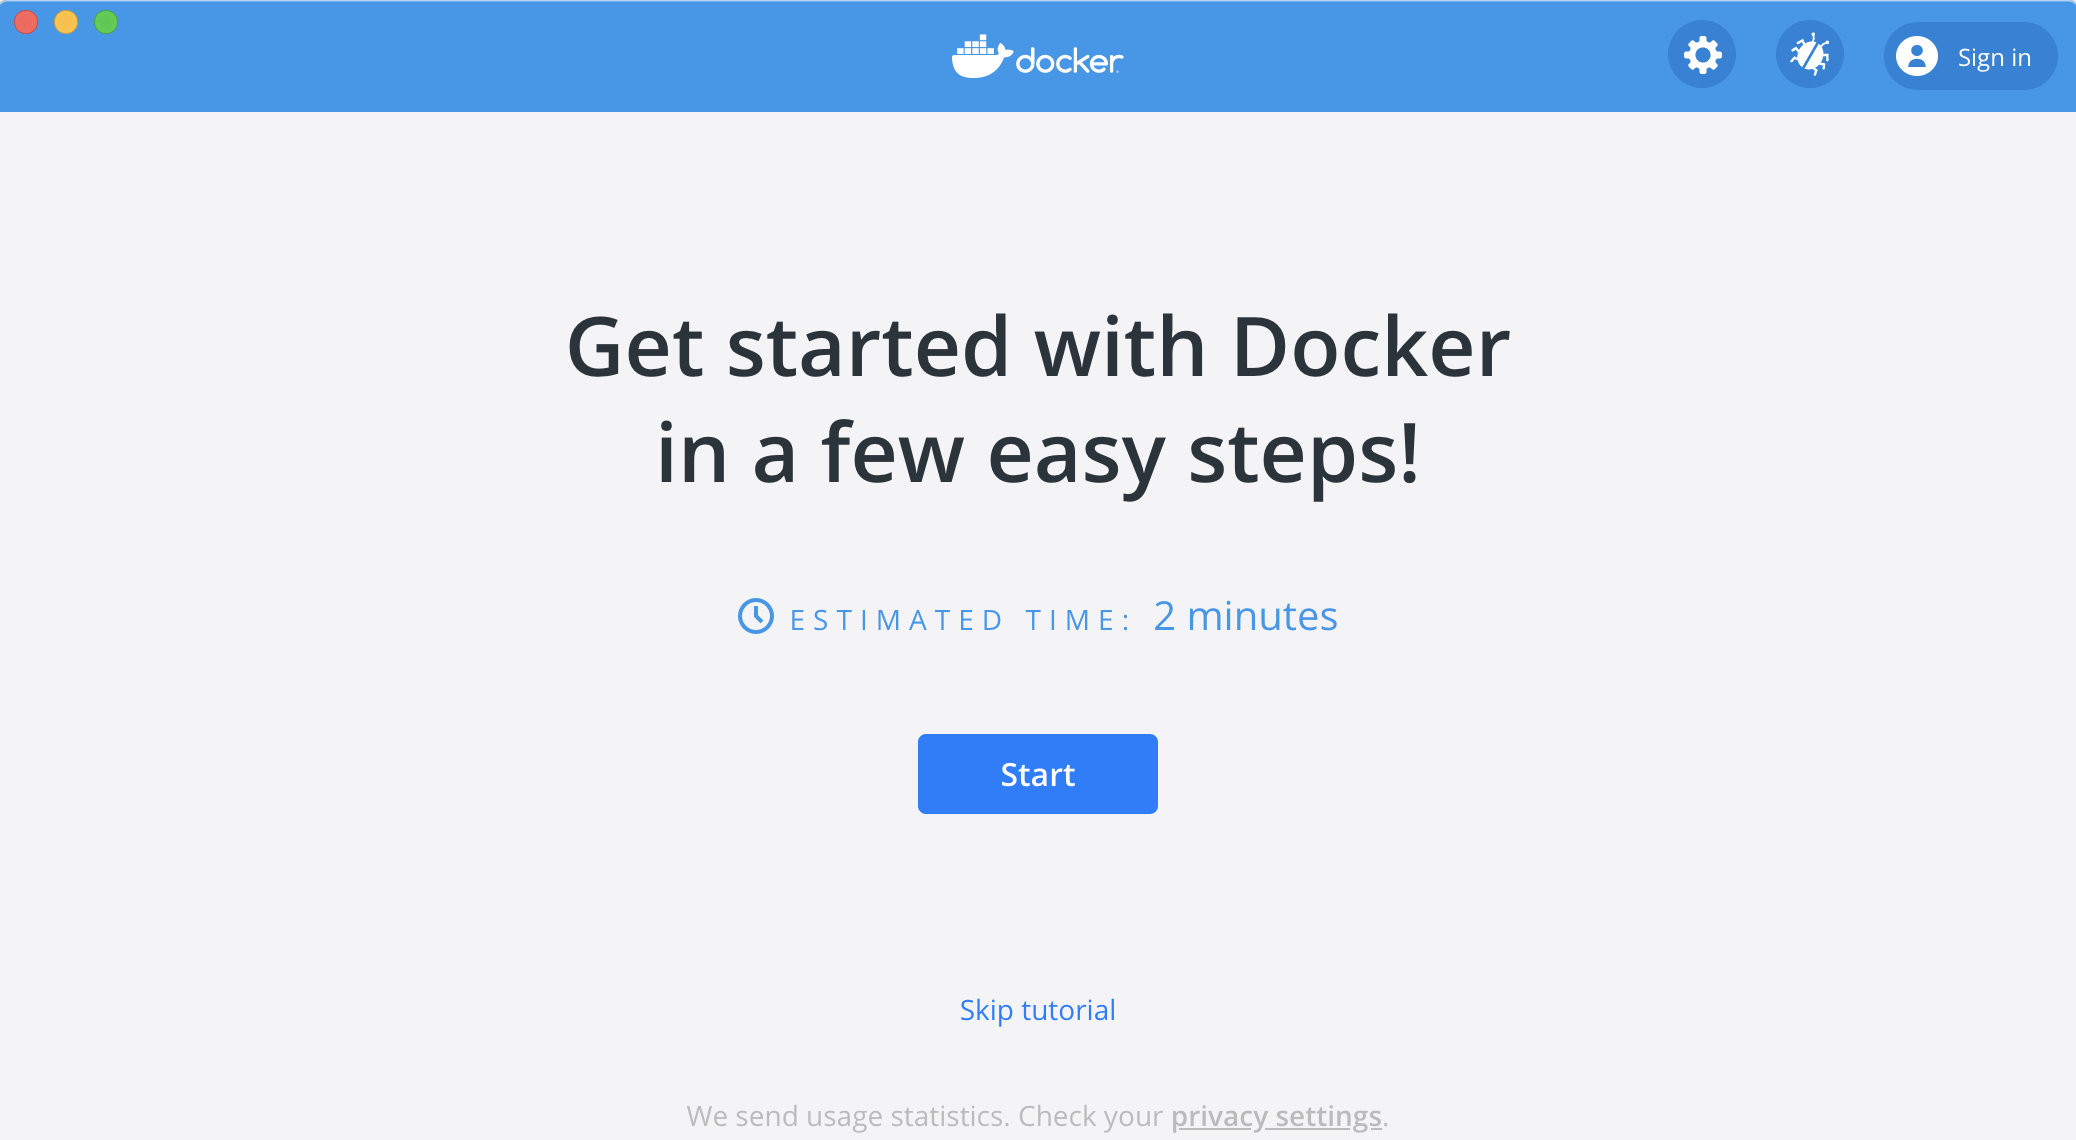
The above icon will be present as long as Docker is running. Docker, by default, is configured to start automatically upon login. So you should expect to see this icon on your top menu bar hereafter. The very first time you launch Docker, it will present you with the typical Mac dialog box that informs you that Docker is "an application downloaded from the Internet. Are you sure you want to open it?" After you click "Open", you will see a screen similar the one below.


Figure 2.5: Launching Docker: The first page for getting Docker on the Mac should looking something like this (as it looks May 2020).


This screen offers a short tuturial in getting your first Docker image and running your first container. Go ahead and go through it if you'd like. At this point you can consider Docker to be installed. If at any point you wish to continue training yourself on Docker, the Docker icon at the top of your window (Figure 2.4) is a pull-down menu, and by selecting Learn you will come back to the above tutorial, or you can select Documentation and find another entry point for learning.


Figure 2.6: Docker Training: The Docker icon is a pull-down menu with options for training yourself. Select Learn or Documentation.


As we discuss images and containers in the next section, we will borrow from some of the steps found in the Documentation link in the above pull-down menu.

3 Images and Containers
The two immediately key notions to consider and differentiate between is the notion of an image and a container. The primary two things to keep in mind are:


- An image, once created, is immmutable, read-only.
- A container is an instance of an image and has a writable component.


A container, once it has been created, i.e., instantiated from an image, may be in either the running or stopped state. Several containers can be created from the same initial image:


Figure 3.1: Images and Containers: An unlimited number of containers can be instantiated from the same image. Created containers may be either in the stopped or running state.


4 Obtaining and Launching a First Image and Container
The Docker installation includes a command line interface (CLI) tool, accessible from the terminal window:


 $ which docker
 /usr/local/bin/docker


If you do not see the above result, check your shell path to ensure it includes /usr/local/bin/. This is a common component of most bash shell path environments. Assuming you have the docker command, remember you can always quickly see a lot of information about this command by running docker --help.

Next we'll use the simple example used on the Docker Documentation page to retrieve our first Image and run our first container.


$ docker run hello-world


Take a moment to read the output of this command as it outputs more to the screen than just the "hello world" message. The image that is being instantiated here is called hello-world. Prior to invoking the above command, this image is not on your system. The docker run command expects an image name to be passed as an argument, and if it does not find this image on your local computer, it will try to download it directly from Docker Hub. More to be said about Docker Hub later, but for now just consider it to be a public repository of published images that can be downloaded.

4.1 Containers and Images on Your Local Computer [top]
In the simple example above, the hello-world image was downloaded to your local computer prior to launching the container. The list of images on your local computer can be viewed with the docker images command:


 $ docker images
 REPOSITORY          TAG         IMAGE ID         CREATED         SIZE
 hello-world         latest      bf756fb1ae65     2 minutes ago   13.3kB


Note that each image has a unique ID. This 12 character ID is actually an abbreviated version of the full 64 character (128 bit) ID. This ID is known as a "Universally Unique Identifier or UUID, [4]. If you were to use the --no-trunc option with the above docker images command, the full 128 character ID would be given, and you can see that the shortened version is just the first 12 characters:


sha256:bf756fb1ae65adf866bd8c456593cd24beb6a0a061dedf42b26a993176745f6b


Likewise the list of containers on your local computer can be viewed with the docker container ls -a command:


 $ docker container ls -a
 CONTAINER ID     IMAGE         COMMAND    CREATED         STATUS                 NAMES
 eeaafc19c3f3     hello-world   "/hello"   2 minutes ago   Exited (0) 2 mins ago  hardcore_jake


Notice containers also have a unique ID. This ID is of course different from the image ID from which it came, since an unlimited of containers can be created from a single image.

Notice the container "name" seems rather random, "hardcore_jake". When the container is created, all transactions on the container can be done by referencing the Container ID, eeaafc19c3f3 in this case. Docker creates a randomly generated more human-readble name in addition to the unique Container ID. You can instead choose the name when the container is created. Try the following run command instead:


$ docker run --name testing123 hello-world


Then notice the additional container:


 $ docker container ls -a
 CONTAINER ID     IMAGE         COMMAND    CREATED         STATUS                 NAMES
 eeaafc19c3f3     hello-world   "/hello"   2 minutes ago   Exited (0) 2 mins ago  hardcore_jake
 4425c361b098     hello-world   "/hello"   3 seconds ago   Exited (0) 2 secs ago  testing123


4.2 Where are Containers and Images on Your Local Hard Drive [top]
From the example above, clearly at least two containers and one image have been loaded onto your local hard drive. The image, hello-world, was downloaded automatically from Docker Hub as part of the docker run command. And the two containers were created from the image on each successive call to docker run. How do these objects map to file(s) on your local hard drive?

Docker keeps all images and containers in one single file called Docker.raw. On the Mac, this is in the folder ~/Library/Containers/com.docker.docker/Data/vms/0/data. Note that if you perform an ls -hl on this file, it appears to be very large. For example it shows as 60GB on my system. However, runing ls -ks, which shows the size actually used, this file is much smaller, about 4GB on my system for example.

To remove containers or images, there are separate docker tools for this, and discussed next.


4.3 Removing Containers and Images [top]
I often find it comforting to know how to return to my starting state. Now that an image has been downloaded to my computer and a couple containers have been created, how can they be removed? One thing to note right away is that Docker tries to prevent you from deleting images from which there are currently existing containers. We'll get back to that in a moment. First, let's delete the two containers on our system. The docker container rm command takes one argument, the Container ID.


 $ docker container ls -a
 CONTAINER ID     IMAGE         COMMAND    CREATED         STATUS                 NAMES
 eeaafc19c3f3     hello-world   "/hello"   2 minutes ago   Exited (0) 2 mins ago  hardcore_jake
 4425c361b098     hello-world   "/hello"   3 seconds ago   Exited (0) 2 secs ago  testing123

 $ docker container rm eeaafc19c3f3
 $ docker container ls -a
 CONTAINER ID     IMAGE         COMMAND    CREATED         STATUS                 NAMES
 4425c361b098     hello-world   "/hello"   3 seconds ago   Exited (0) 2 secs ago  testing123

 $ docker container rm 4425c361b098
 $ docker container ls -a
 CONTAINER ID     IMAGE         COMMAND    CREATED         STATUS                 NAMES


Removing images is similar, and is done with the docker image rm command, passing it the Image ID:


 $ docker images
 REPOSITORY           TAG       IMAGE ID          CREATED          SIZE
 hello-world          latest    bf756fb1ae65      2 days ago       13.3kB

 $ docker image rm bf756fb1ae65
 $ docker images
 REPOSITORY           TAG       IMAGE ID          CREATED          SIZE


URL References
[1] https://www.instructables.com/id/Add-text-to-images-with-Linux-convert-command
[2] https://medium.com/@sh.tsang/docker-tutorial-2-pulling-image-b58326448717
[3] https://stackify.com/docker-build-a-beginners-guide-to-building-docker-images
[4] https://en.wikipedia.org/wiki/Universally_unique_identifier


Document Maintained by: mikerb@mit.edu
Page built from LaTeX source using texwiki, developed at MIT. Errata to issues@moos-ivp.org.
 Get PDF
